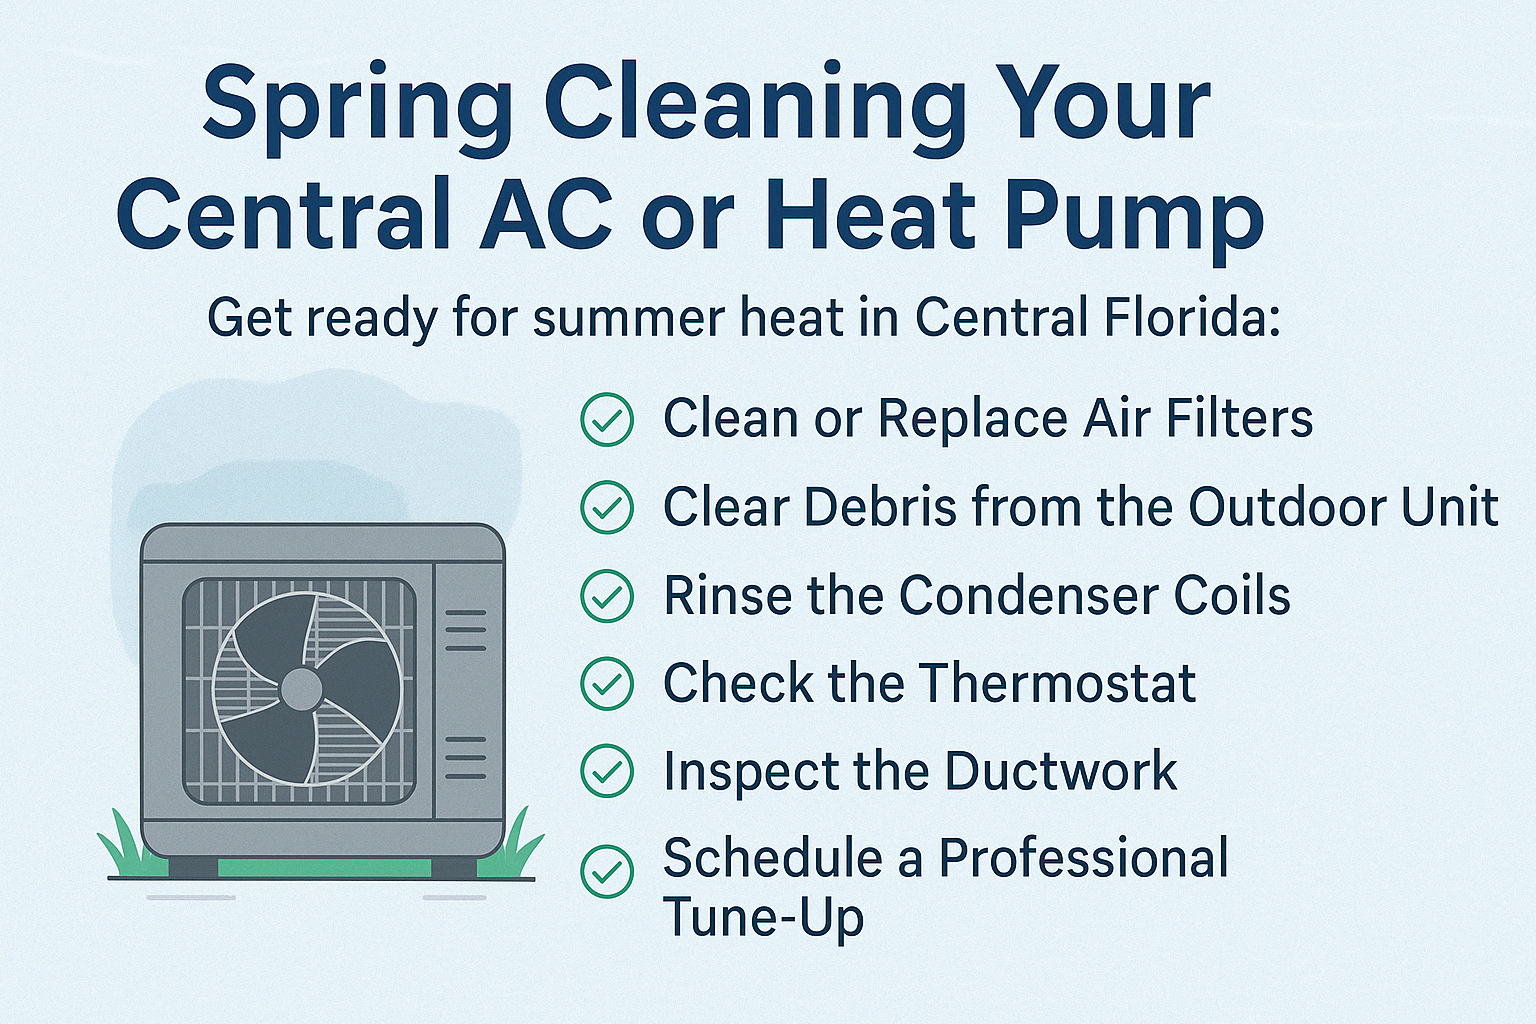
Consistently replacing your AC filter is one of the most common and effective ways to maintain your AC. Failing to change a dirty or clogged AC filter can lead to worse indoor air quality, higher energy costs as well as decrease your AC’s efficiency. Ideally, you should change your AC filter every month or two during the cooling season.
However, if you’re new to HVAC maintenance you might not know how to go about changing your AC filter. That’ no problem at all because the pros at Freedom Air and Heat are here to help you out. Here is a step-by-step guide on how to replace your AC filter!
Locate the Filter
This part can be a little tricky. Depending on the kind of AC unit you have, your AC filter can be found in a couple different places. Here are the two most common locations you can find your AC filter:
- Return Register/ Vent: If your home has one large central return register or vent as opposed to having one per room, that’s where your air filter is located. You can find the return vent by looking for a metal grille in the ceiling on top of a stairwell or in a hallway. The filter is located right behind the grille.
- Air Handler: If your home has several return registers, your filter is most likely in the air handler. The air handler resembles a furnace and is found either in the attic or basement. Look for a narrow slot with a removable cover located on the return air side of the unit—you will find the filter there.
Which Filter Should I Use?
When replacing your filter, look at the filter size that was previously being used. All you must do is pull out the old filter and look at the dimensions written on the side of the filter. In addition, you should check for the MERV rating. The MERV rating measures the quality of your air filter and how effective it is in catching dust. The rating range is from 1-16, 1 being the least effective while 16 is the most.
You might think a filter with the highest MERV is the best choice. However, your AC unit might not be powerful enough to handle it. So, you can either look through your owner’s manual to look at the right MERV for your AC or consult an HVAC technician.
Replace the Filter
Okay, so you have located the filter and you have determined the right size and MERV. Now it’s time to explain how to replace your AC filter. Here’s how you do it:
- Turn off the power
You don’t want your unit to still be running while the filter is being removed, as dust and debris can get stuck in the unit.
- Remove the old filter
You can do this by simply sliding it out of the slot. Keep a garbage bag near you to quickly place the old, dirty filter in. This will prevent the scattering of dust.
- Insert the New Filter
Take the new filter and put it back in the slot the right way. An arrow on the filter will show you the direction in which the air should flow through the filter. If you’re changing the filter in the air handling unit, make sure the arrows are pointing toward the handler unit. If you’re changing the filter behind the return vent, make sure the arrows point toward the duct, not outward toward the grille.
- Place the Grill Back and Clean Up
If you replaced the filter behind your return vent, be sure to carefully put the grille back in place and use a damp cloth to clean up any dust. Voila! Your AC filter has been replaced!
Maintain Your AC with Freedom Air!
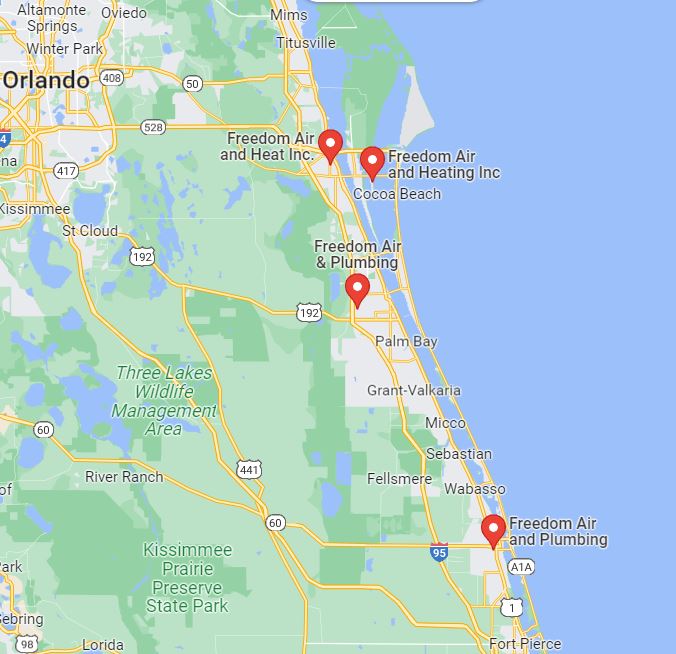
Now that you know how to replace your AC filter, it’s important to understand the rest of the maintenance equation. Your air conditioner requires regular professional upkeep to function properly and provide you with the comfort you deserve. If you’re looking for technicians to inspect and tune-up your AC, look no further than the pros at Freedom Air and Heat! We serve the Brevard and Indian River counties with expertise and excellent customer service. Our technicians will ensure your AC is carefully inspected and well-maintained so it can continue to perform well. Call us today 321-631-6886 (Brevard), 772-778-2272 (Indian River) or fill out a service request form on our website!


